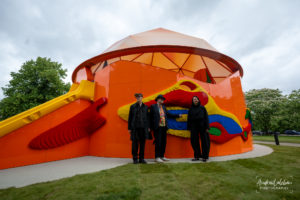
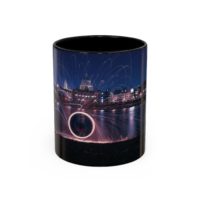
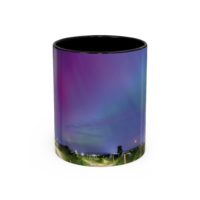
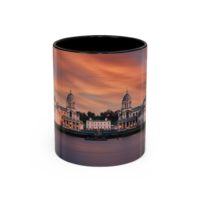
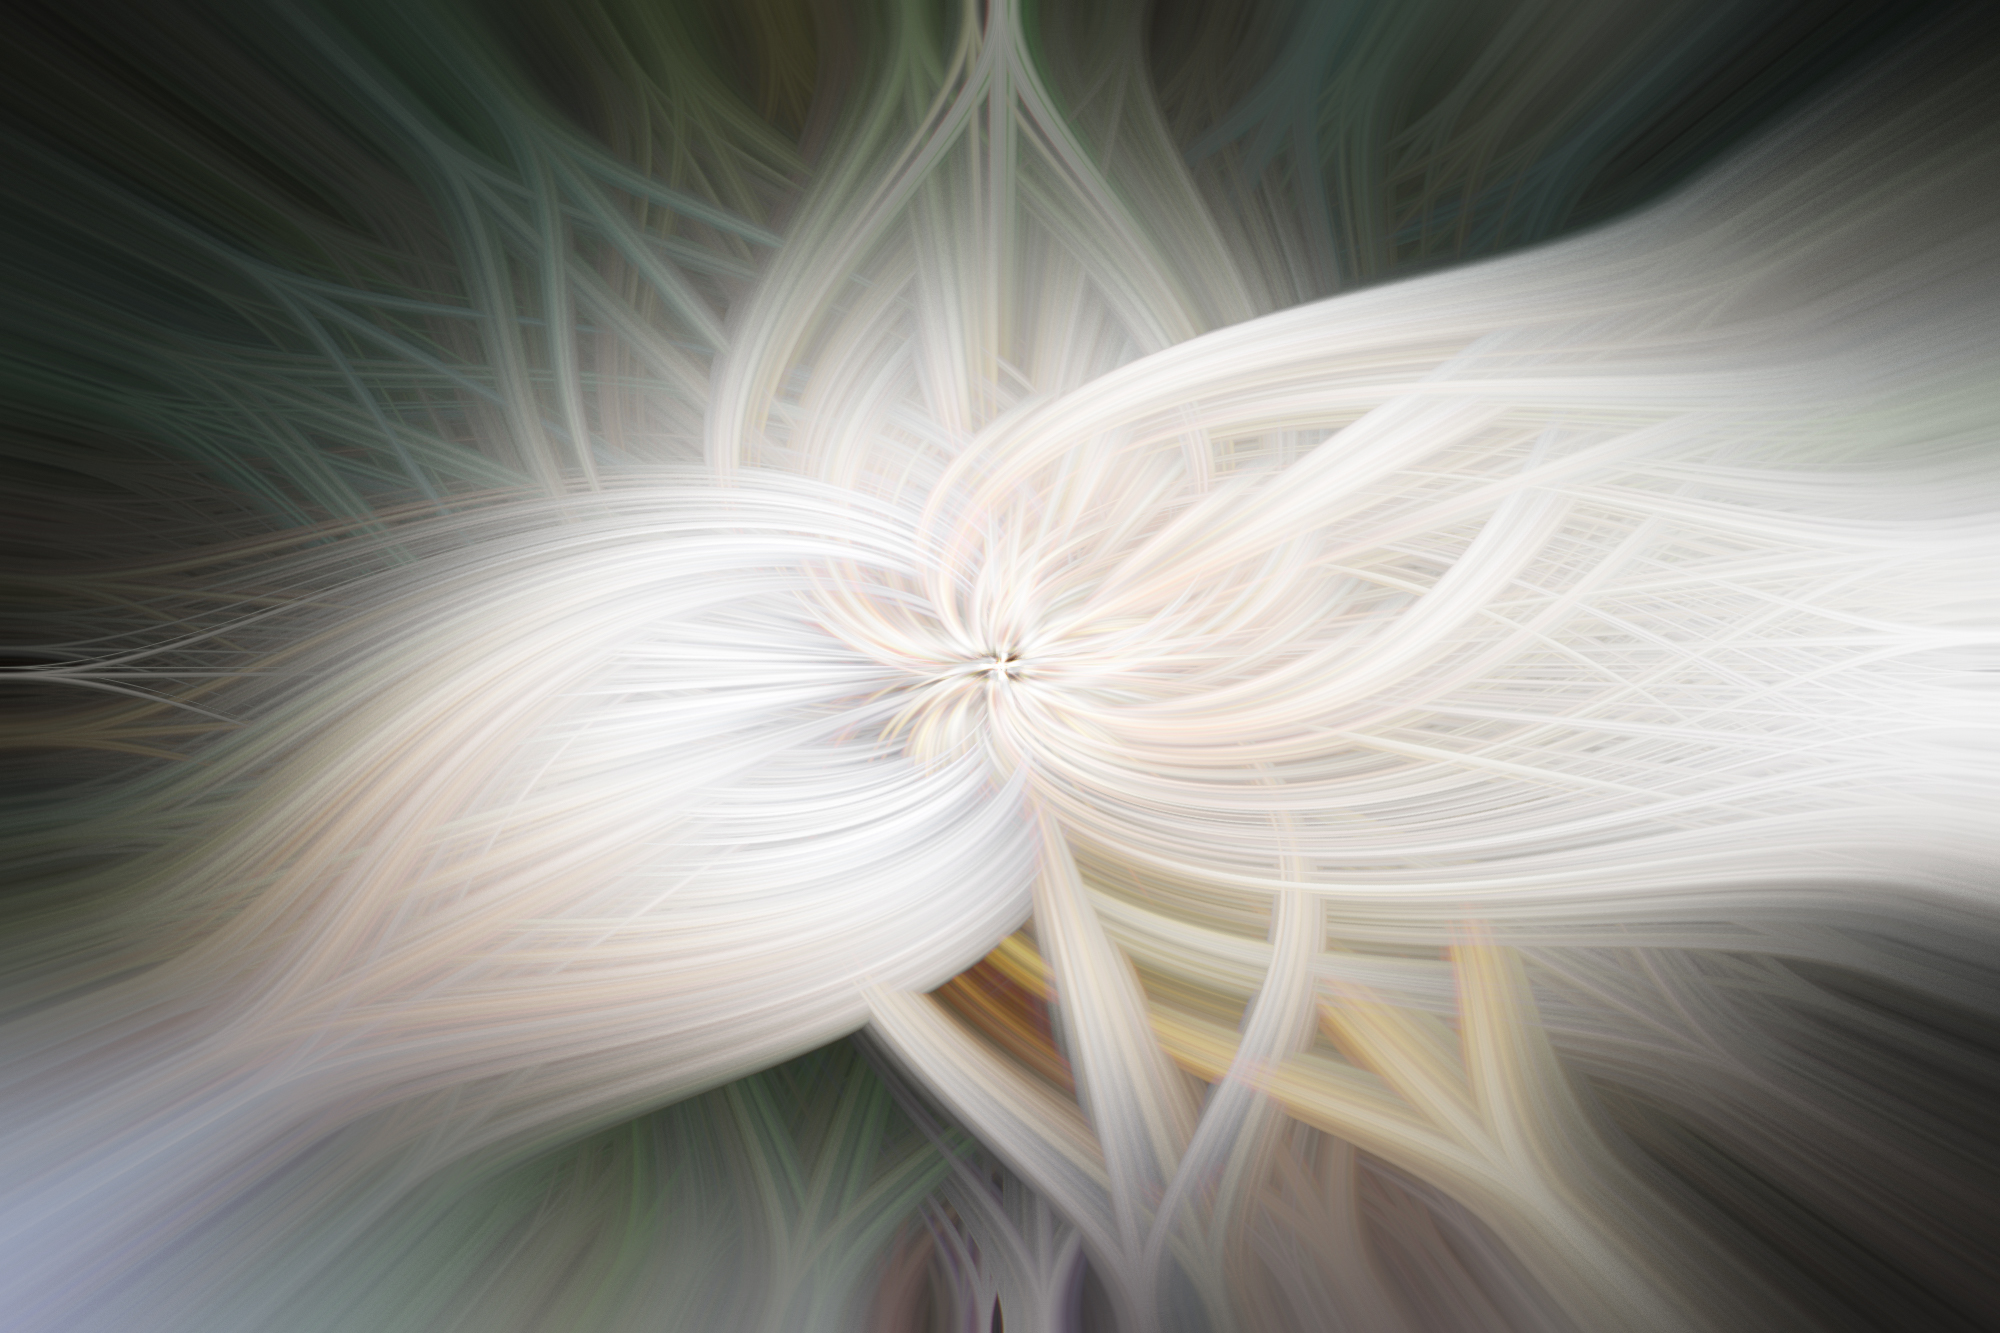
These psychedelic images are produced from real photographs using some of the tools in Adobe Photoshop. Creating a beautiful abstract arty picture. Below are the steps you need to go through to create these kinds of images, it is relatively straight forward but if you have any problems leave a comment below.
What you would need
A photograph which has different colours, the latest Adobe Photoshop which some of you should have as part your Photography CC plan. For people who don’t have Photoshop, this will be difficult to produce but you can try it with older versions although the menu options might be in a different place.
Step 1
In Photoshop load up a photograph that has a wide variety of colours. Right-click on the background layer and choose change to smart object. The reason for doing this is that you can easily modify it after you have finished.
Step 2
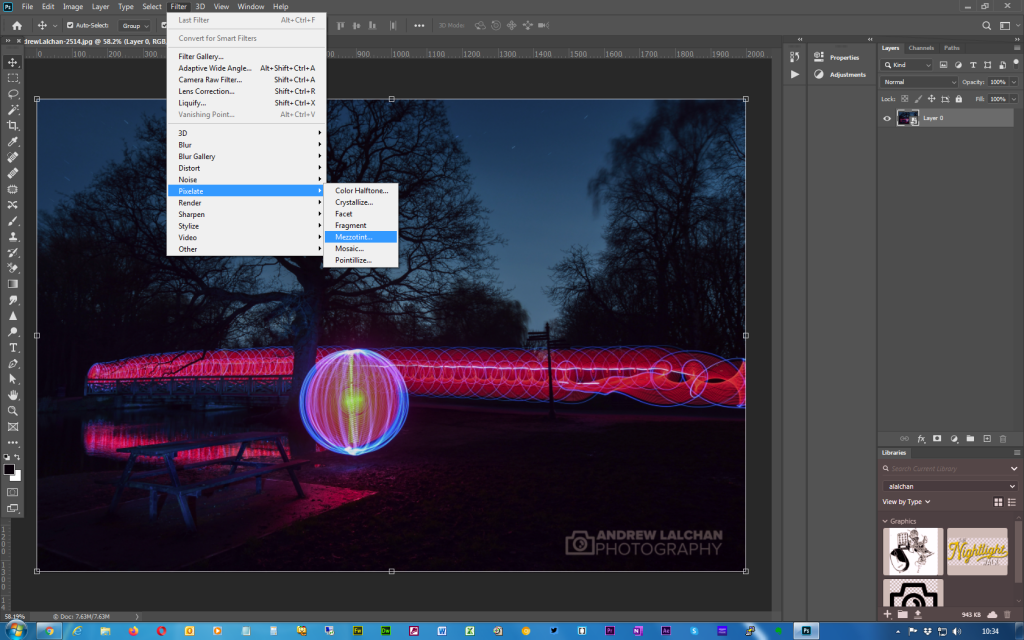
Select the filter menu and go down to Pixelate, once there choose Mezzotint as shown below.
Step 3
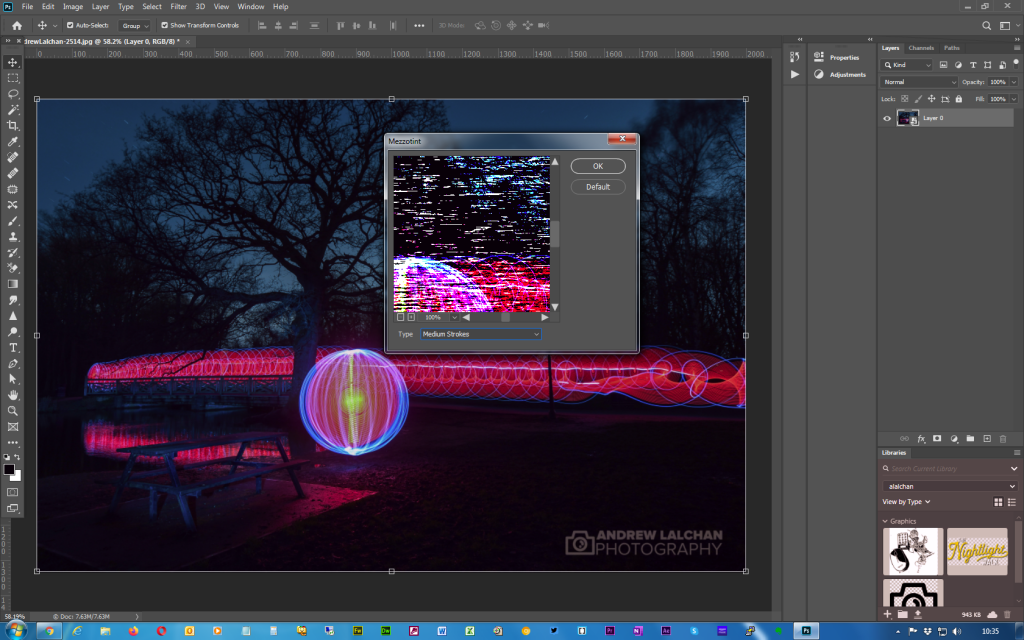
A new window will pop up, choose Medium strokes and then click OK. You will now get a picture full of lines or streaks.
Step 4
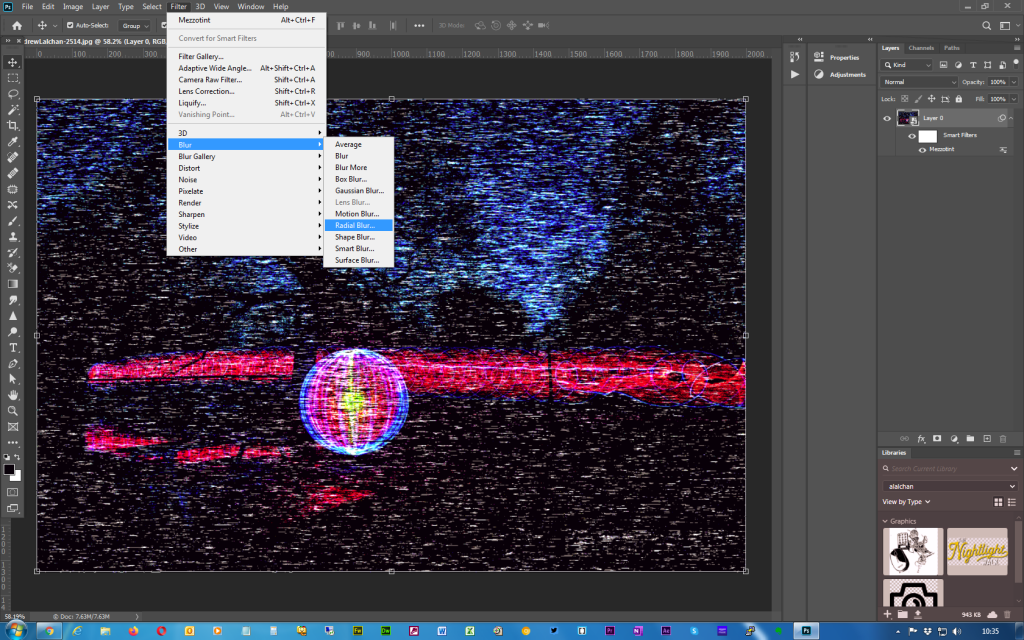
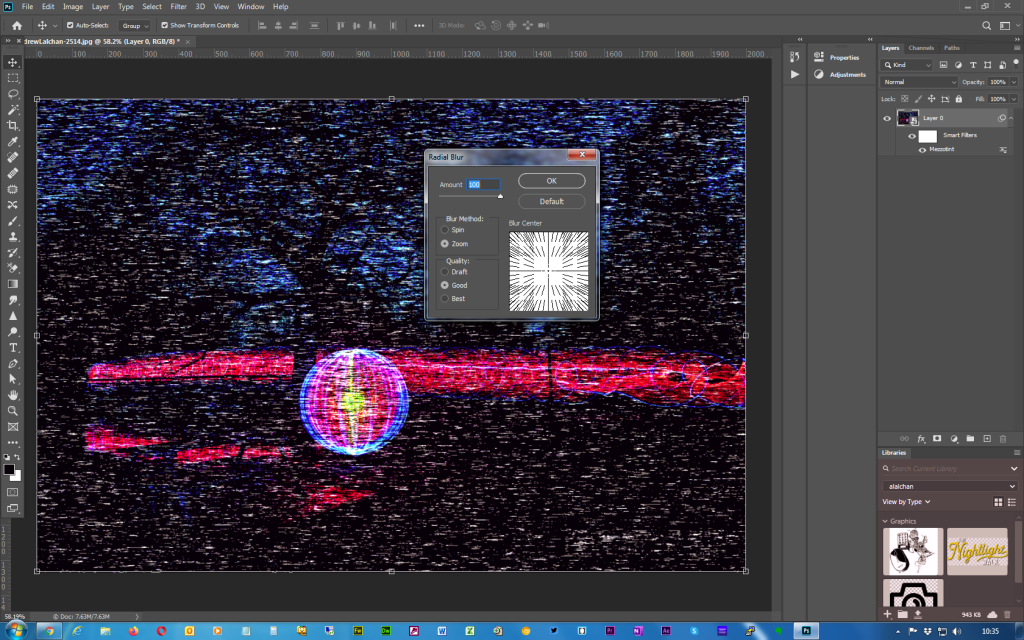
Next, choose blur > radial blur from the menu this will bring up a popup window.
Step 5
As shown on the screen below in the pop window you want to choose Amount as 100, Blur method as Zoom and Quality as good. This will produce an image of streaks coming from a central focal point. Repeat radial blur a further 2 times this will create smoother lines.
Step 6
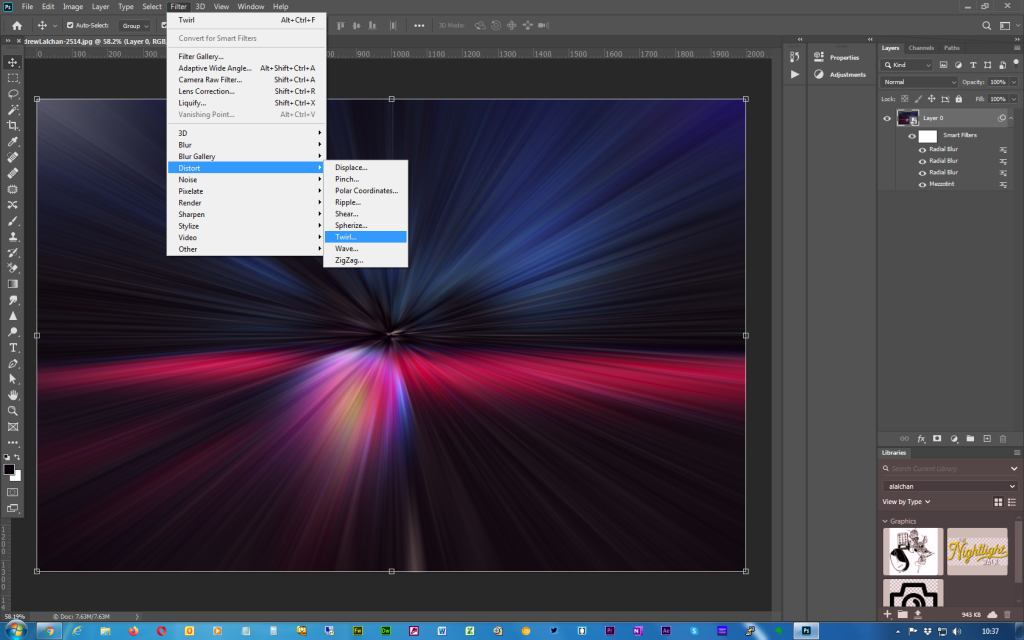
Next, select Distort > Twirl as shown, this will display a popup window.
Step 7
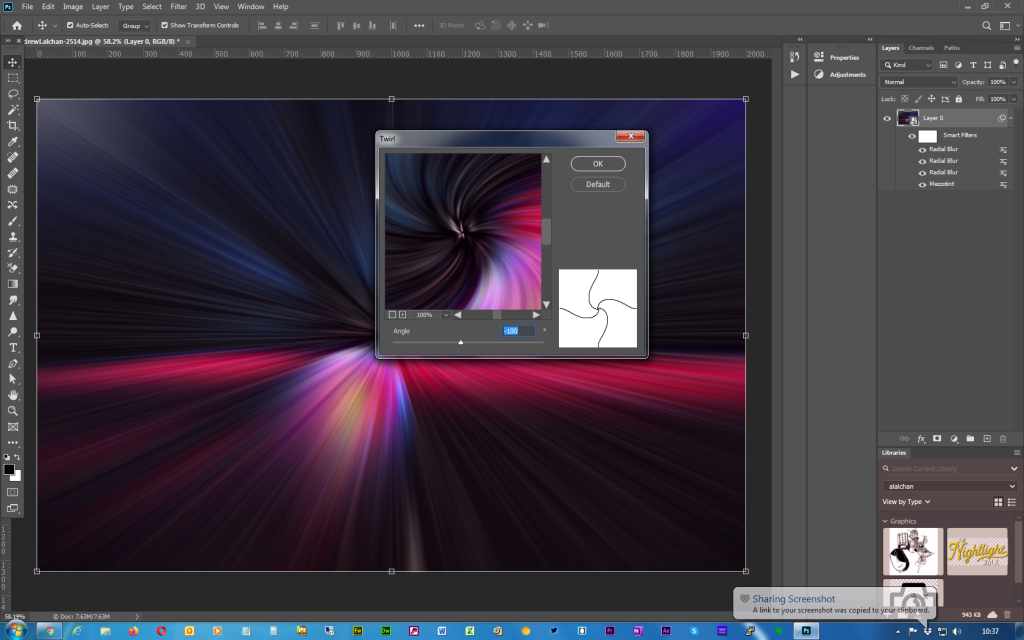
In the box that pops up enter the value -100 and click OK. This will produce the image as below and we are nearly there.
Step 8
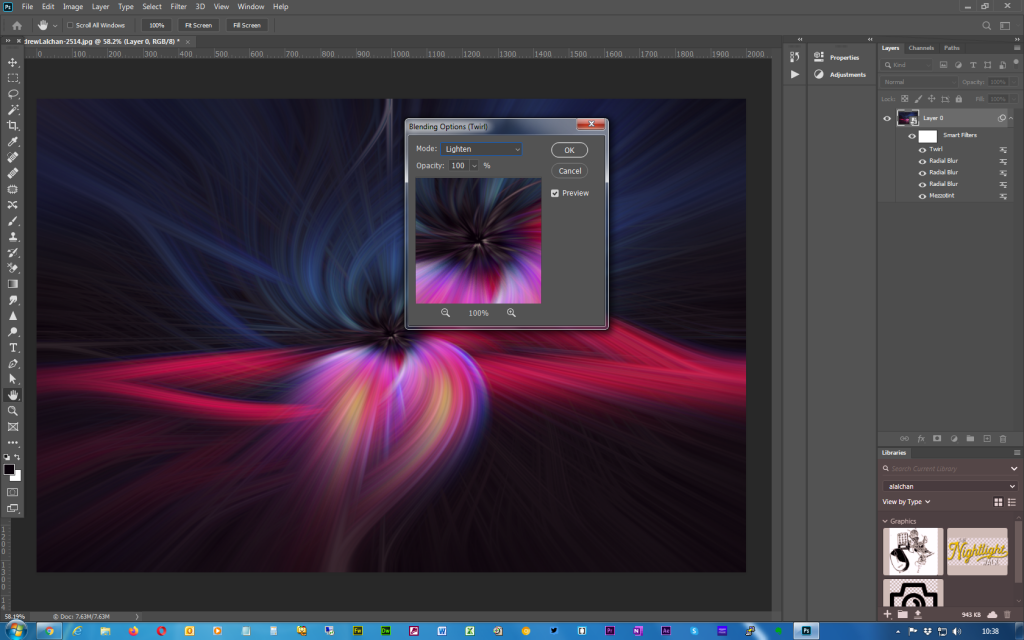
Next, you need to load up the blending options panel, if you move your mouse pointer over the word Twirl in the layers panel (right). There is a small icon, double click on it and it will bring up the panel shown in the screenshot below. Select Lighten from the mode and opacity 100, then click OK.
Step 9
Repeat step 8 but enter +100, you will then get a similar effect as below.
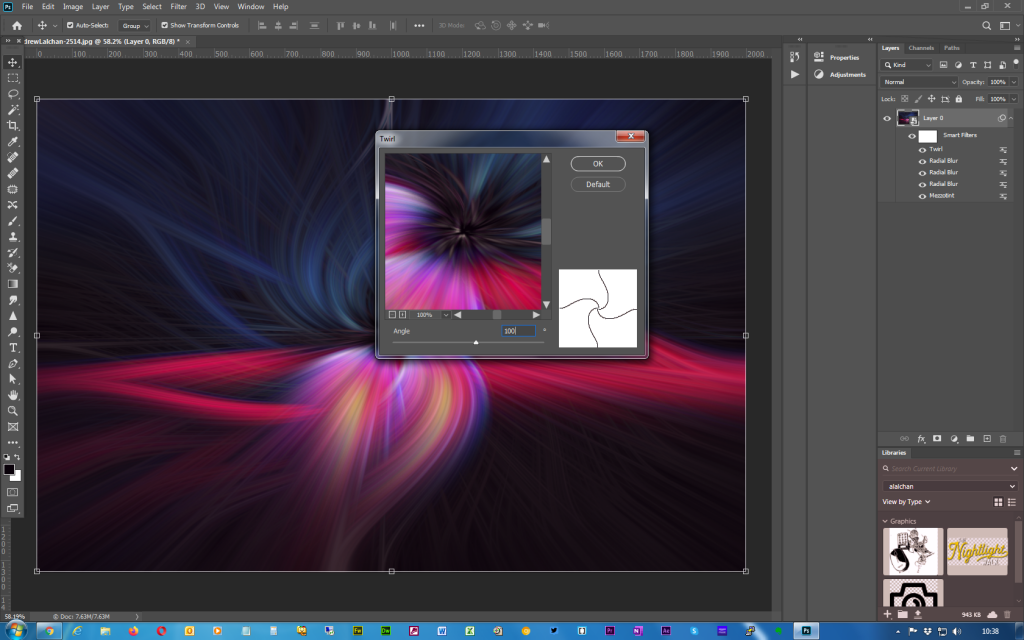
Step 10
To give the image the finished look, select filters > Camera Raw filter and edit the image to produce it in your style, the settings here are the same as the Lightroom Develop module.
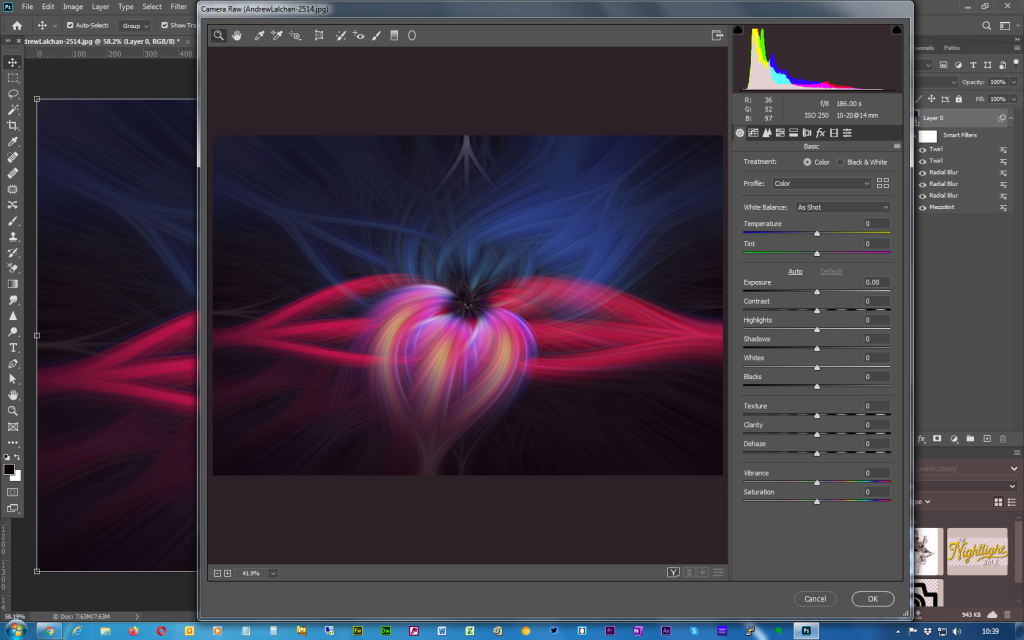
You should now have an image similar to mine below, you can experiment with the different blending modes to come up with other looks. Thanks for reading the tutorial, leave a comment below if you had any problems or send a link to your final image. You can also see more images on my Flickr link shown below.

Links
Flickr – https://www.flickr.com/photos/alalchan/albums/72157713824798983
Instagram – http://www.instagram.com/alalchan
Twitter – http://www.twitter.com/alalchan


